Excel incorporates Power Query (also called Get & Transform) technology to provide greater capability when importing, refreshing, and authenticating data sources, managing Power Query data sources, and shaping the data into a table that fits your requirements.
Note: Viewing and refreshing queries is available to all Microsoft 365 Subscribers. Additional functionality is available to all Microsoft 365 Subscribers with Business or Enterprise plans.
You can refresh data sources on Excel for the web:
-
To refresh all data sources in a workbook, select Data > Refresh All.
-
To refresh all queries in the workbook, select Data > Queries, and then in the Queries pane, select Refresh All
-
To refresh a specific query, select Data > Queries, and then in the Queries pane, next to the query name, select Refresh
-
To refresh a specific query group, select Data > Queries, and then in the Queries pane, next to the group name, select Refresh
To refresh a specific PivotTable connected to a query, select a cell in the PivotTable, and then select Data > Refresh.
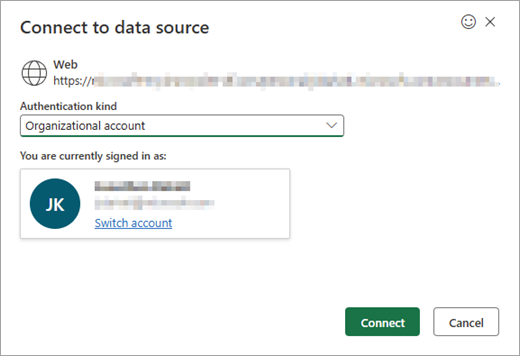
When you refresh a query, if authentication is needed, you can select the relevant method – anonymous, user and password, or your organizational account. For example, to refresh organizational data, select the respective method.
For more information about supported data sources in Excel for the Web, see Power Query data sources in Excel versions.
You can import data into Excel using Power Query from a wide variety of data sources. These data source options include Excel workbook, Text/CSV, XML, JSON, SQL Server database, SharePoint Online list, OData, Blank table, and Blank query. To import data:
-
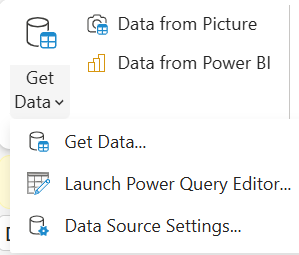
Select Data > Get Data.
-
In the Choose data source dialog box, select one of the available data sources.
-
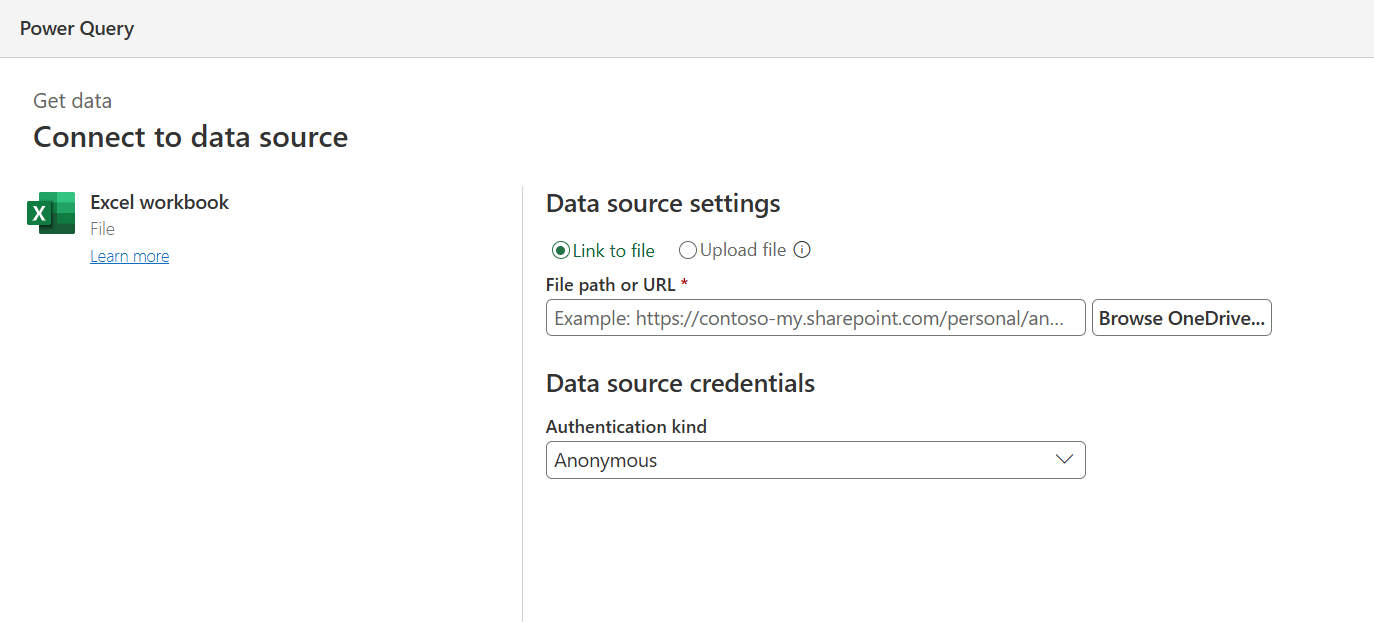
Connect to the data source.
-
After you select the source, the Authentication kind field will be automatically populated, according to the relevant source. You can still change it, as needed.
-
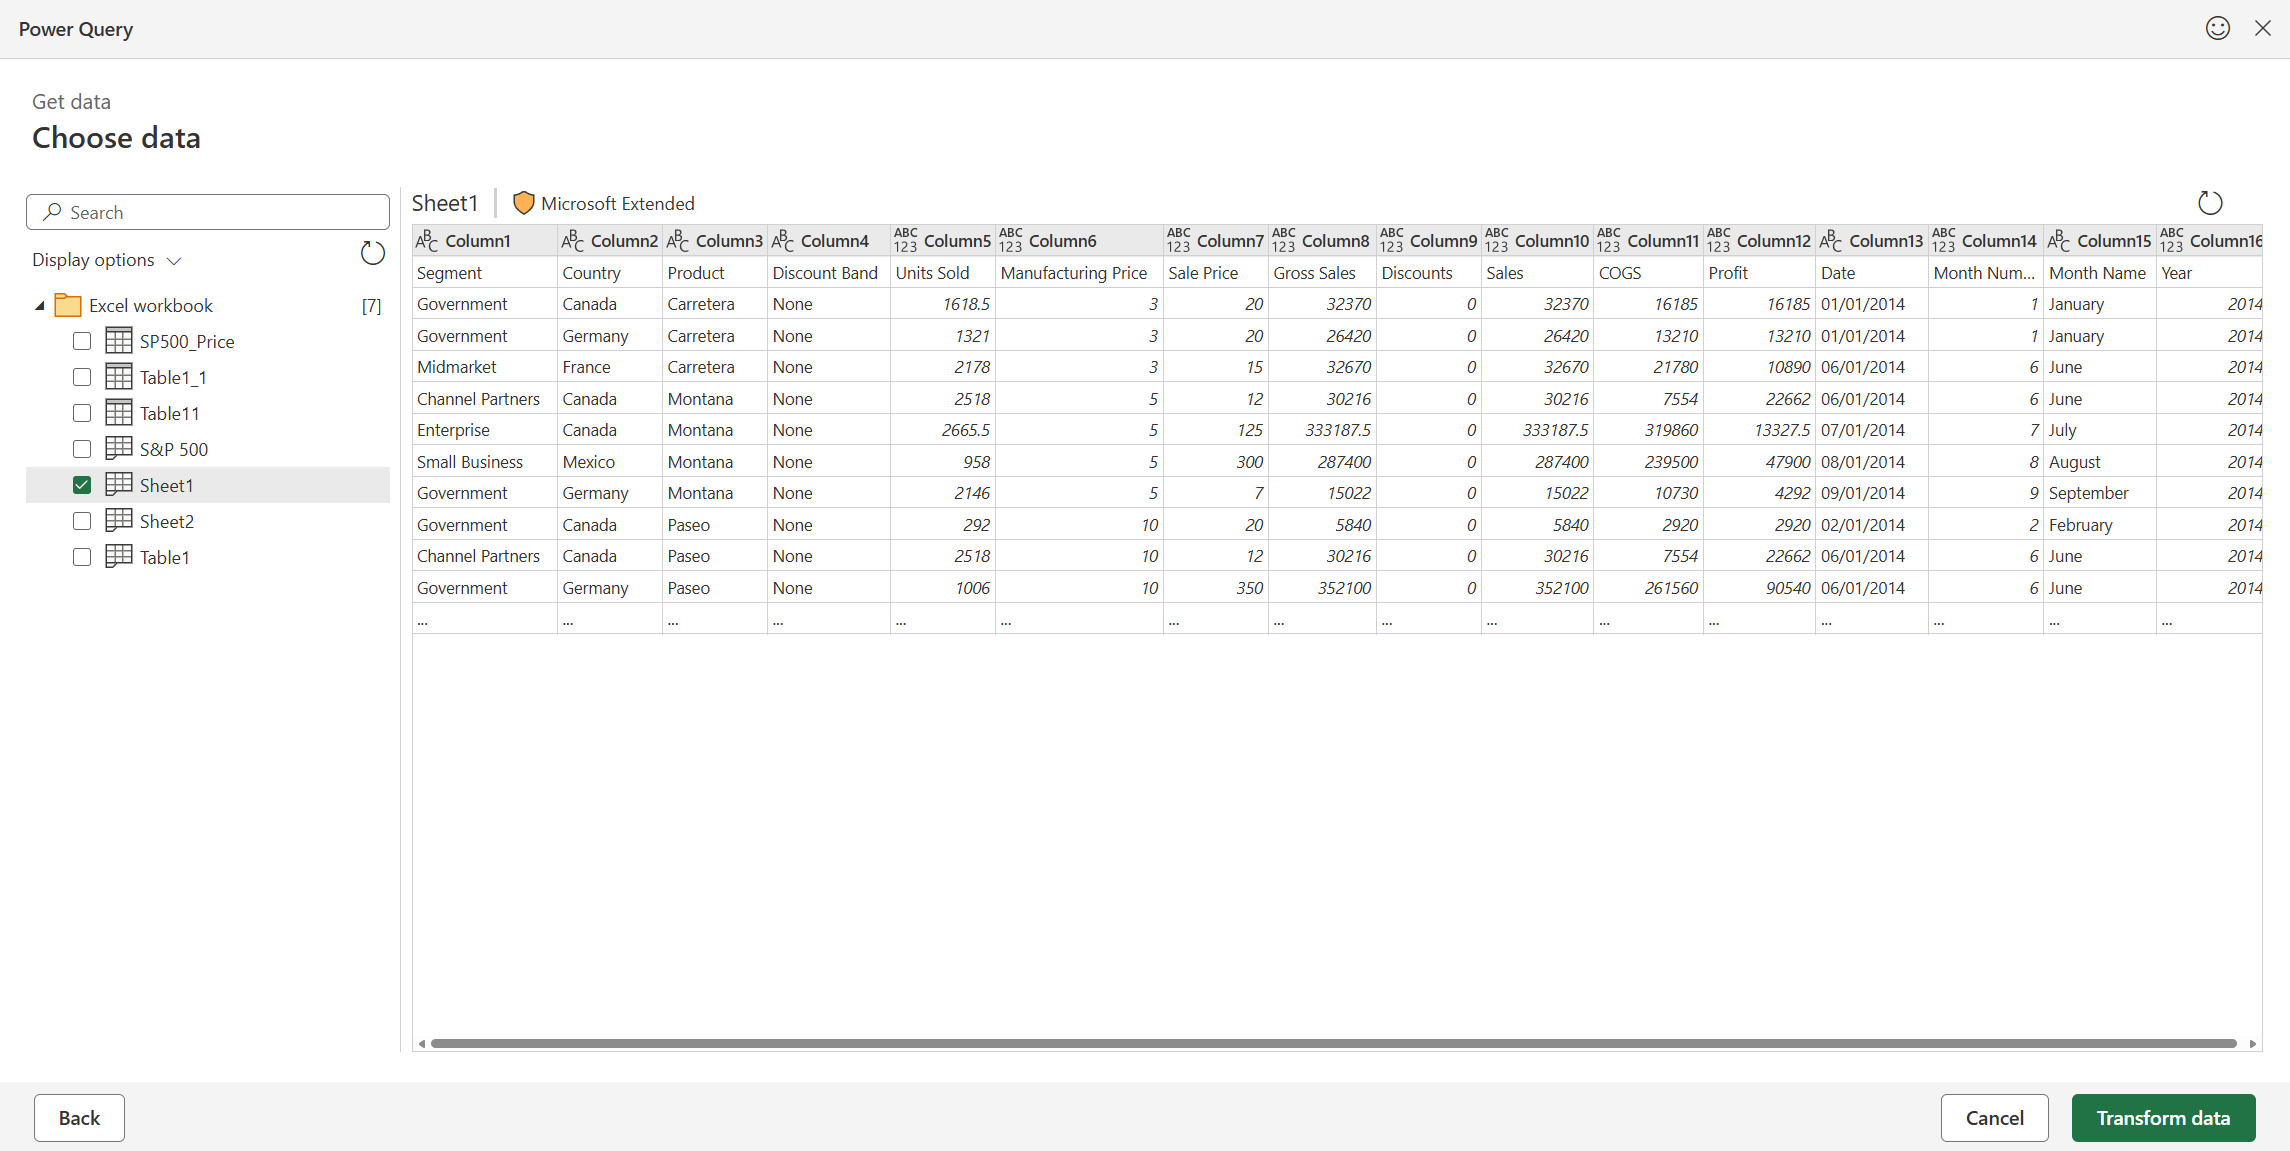
Select Next and choose the table you wish to import.
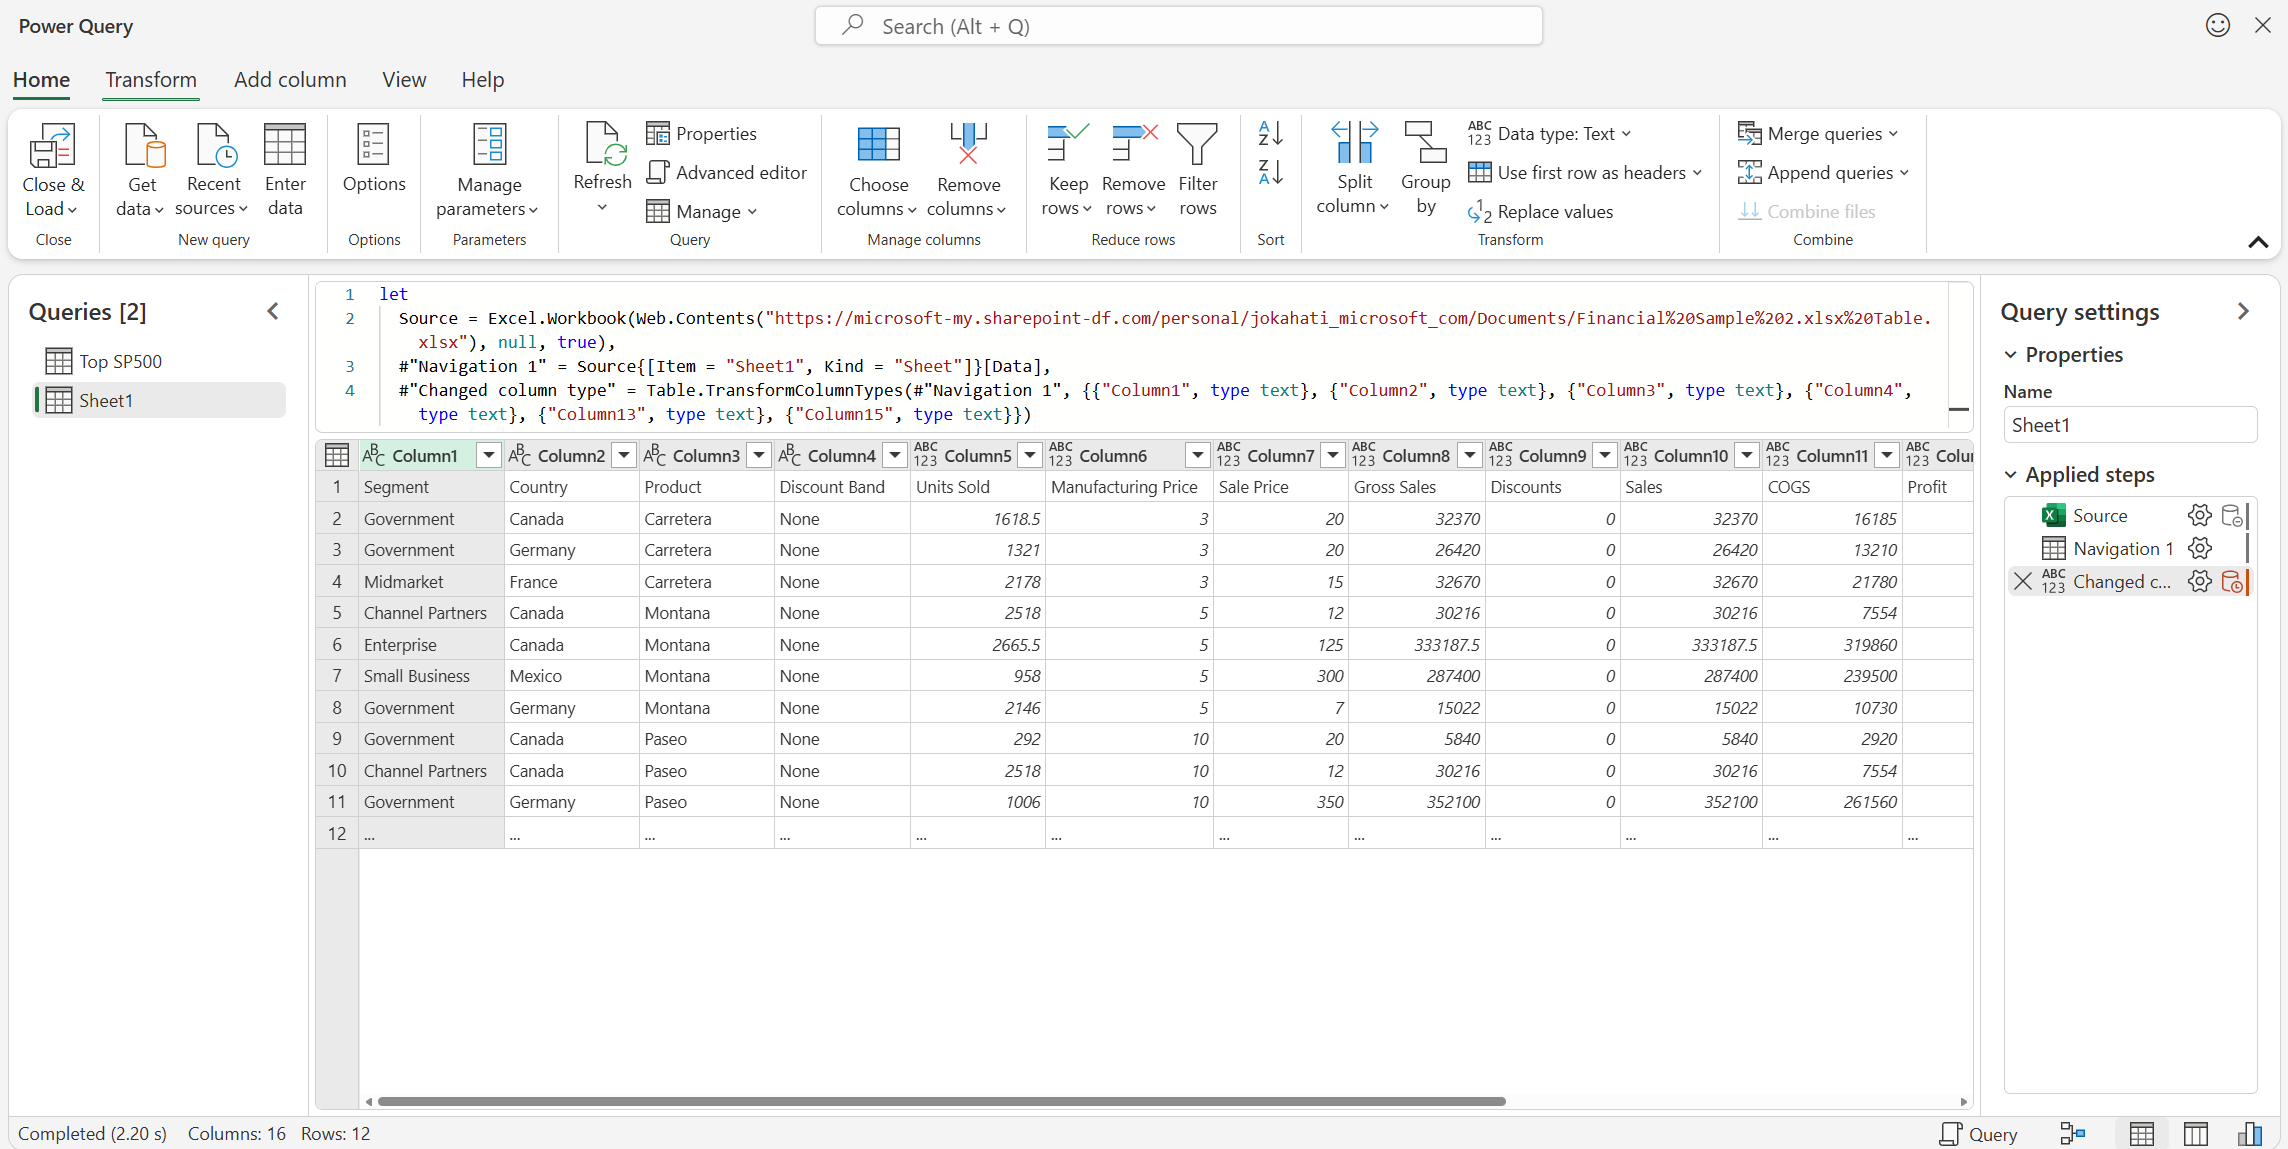
Select Transform data to open the table in the Power Query editor, where you can perform many powerful transformations. You can also open the editor whenever you need it by using Data > Get Data > Launch Power Query Editor.
For more information on the Power Query Editor features, see The Power Query user interface.
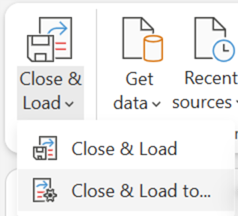
When you are done, load the table by selecting Close & Load. This loads the data to the Excel grid.
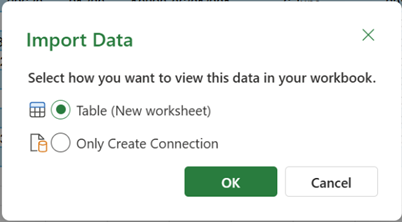
Alternatively, use the option Close & Load to… to either load to the Excel grid or create a connection-only query.
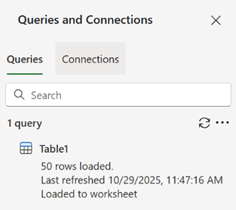
You can see the created query in the Queries & Connections pane.
You can view your queries and related details in the Queries task pane. You can also perform various grouping tasks to better organize your queries. For more information, see Manage queries.
You can view and manage data source credentials for the Power Query queries in your workbook in Excel for the Web using Data Source Settings. For more information, see Manage data source settings and permissions.
Your browser needs third-party cookies enabled to support some of the Power Query functionalities in Excel for the Web. If you're using a private browser session, you may need to re-enable this setting each time.
Note: Some browsers refer to this setting as "all cookies", instead of "third-party cookies".
The following links provide more information on how to adjust cookie settings in popular browsers:


