Outlook add-ins provide solutions to help you better interact with Outlook and complete tasks on your messages and appointments without leaving Outlook.
Install an add-in from AppSource
-
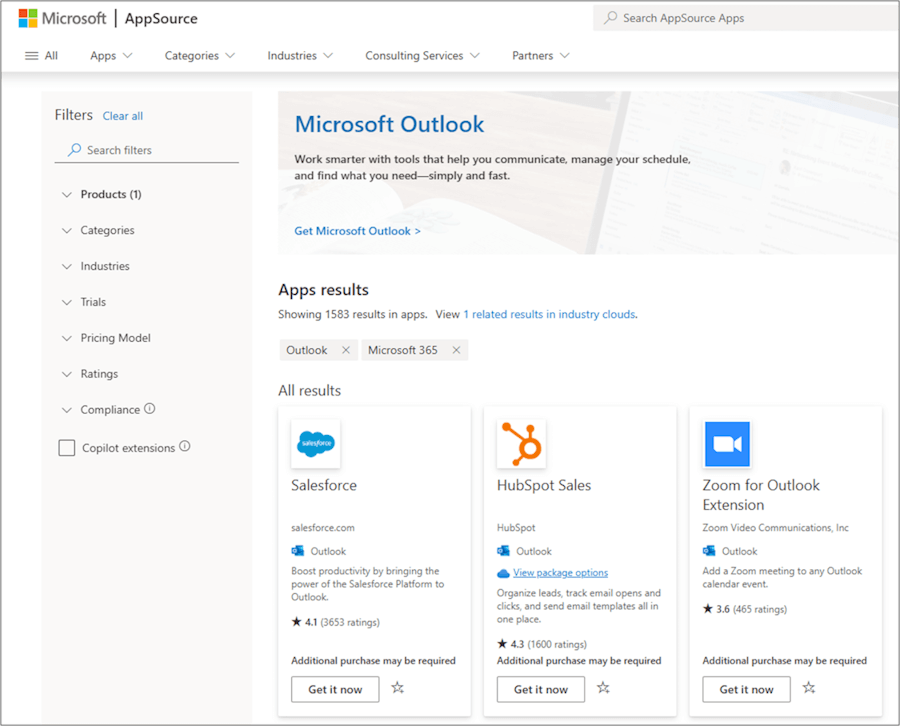
From the Tools menu on the ribbon in Outlook, select Get Add-ins. The AppSource page opens in your default browser.
Tip: If you don't see Get Add-ins in the ribbon, select the ellipsis button (...) from the ribbon. Then, select Get Add-ins.
-
Scroll through the list of add-ins or use the search field to find a specific add-in.
-
When you're ready to install an add-in, select Get it now.
Notes:
-
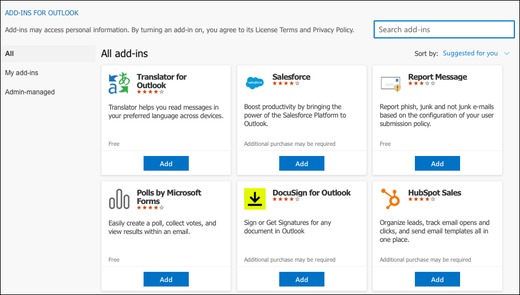
Starting in Version 16.85 (24051214), the Get Add-ins button no longer opens the Add-Ins for Outlook dialog. Instead, it opens AppSourcein your default browser. Earlier versions can still access the Add-Ins for Outlook dialog through the Get Add-ins button.
-
If you need to access the Add-Ins for Outlook dialog on later versions of Outlook, go to https://aka.ms/olksideload. This opens Outlook on the web and loads the Add-Ins for Outlook dialog after a few seconds.
Use an add-in in Outlook
Important: Ensure that the Reading Pane in Outlook is set to Right or Below. Otherwise, add-ins will be unavailable. To configure your Reading Pane, select View > Reading Pane.
The add-ins you install automatically appear on your ribbon. You may need to select the ellipsis button (...) from the ribbon to view installed add-ins.
To use the add-in, select the applicable add-in button from your ribbon.
Tip: To customize which installed add-ins appear in your Outlook ribbon, select the ellipsis button (...) from the ribbon, then choose Customize Toolbar. For further guidance, see Customize your toolbar in Outlook for Mac.
Manage your add-ins
To manage your installed add-ins, in your preferred browser, go to https://aka.ms/olksideload. This opens Outlook on the web and loads the Add-Ins for Outlook dialog after a few seconds.
In the Add-Ins for Outlook dialog, you can do the following:
-
View personally installed add-ins and admin-managed add-ins.
-
View information about an add-in.
-
Search and install new add-ins.
-
Remove add-ins.
-
Install custom add-ins by going to My add-ins > Custom Addins > Add a custom add-in > Add from file.
Note: The Add from URL option is no longer available to install a custom Outlook add-in. As a workaround, open the URL in your preferred browser to download the manifest file of the add-in, then use the Add from File option to install it.
Add-in availability in shared mailboxes
The following table outlines the availability of add-ins in shared mailboxes. For guidance on how to access shared mailboxes in Outlook on Mac, see Open a shared Mail, Calendar or People folder in Outlook for Mac.
|
Scenario |
Behavior |
|---|---|
|
Add-in installed by the user |
You can't install add-ins in a shared mailbox. Add-ins you install are added to your primary mailbox. |
|
Add-in installed by an administrator |
Administrators shouldn't deploy add-ins to a shared mailbox. They should instead deploy an add-in to a user's primary mailbox. Once an add-in is deployed to your mailbox, you can then use the add-in in a shared mailbox as long as the add-in meets certain requirements (see the following scenarios for add-in availability in read and compose modes). |
|
Default add-ins in Outlook |
Default Outlook add-ins aren't available in shared mailboxes. Default add-ins can include My Templates, Unsubscribe, and Action Items. |
|
Add-in used in read mode |
Add-ins installed in your primary mailbox must be configured to support shared mailboxes. For further assistance, contact your administrator. |
|
Add-in used in compose mode |
Add-ins installed in your primary mailbox must be configured to support shared mailboxes. For further assistance, contact your administrator. |


