True teamwork in Microsoft Teams
Applies To
Microsoft Teams is a digital hub that brings conversations, content, and apps together in one place. If your classes are using Teams, you’ll be able to connect with classmates, ask your educator questions, work on your homework, and track upcoming work in one place.
Note: Some of these features may disabled in Microsoft Teams due to the settings of your school or district. You need a school email to log in to Teams.
Getting started
Let’s start by making sure you are logged into Microsoft Teams with your school email and are connected to your classes. You can check this by logging in at https://teams.microsoft.com. Select Teams to view any class teams you’ve been added to.
If you haven’t yet, download the Teams app onto your phone or computer.

Conversations in channels
Within each of your class teams, you’ll see channels. Channels are organized around units, topics, or small group work. Select one to view the tabs you share with everyone in your class (not just the people working in the channel).
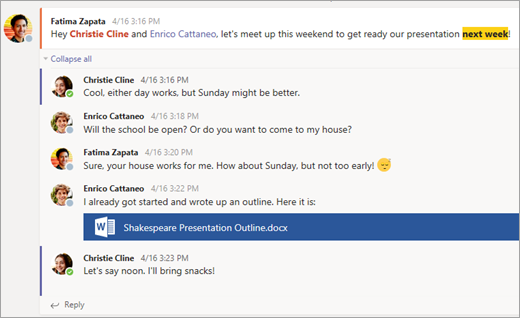
The General channel in each class team is where you’ll be doing a lot of collaborating with classmates and your educator. Teams conversations are kind of like social media—you can create posts, reply to other posts, and @mention people’s names to get their attention. You can also share school files and easily discuss projects and ideas while reaching everyone in your class.


Document sharing and collaboration
Every time a file is shared in a conversation, it automatically gets added to the Files tab of that channel. So, even if a channel piles up with different conversations, you’ll know where to go to see that file again. Everyone in your class can see, open, and edit these files, so it’s a great way to work together in Word, PowerPoint, or Excel.
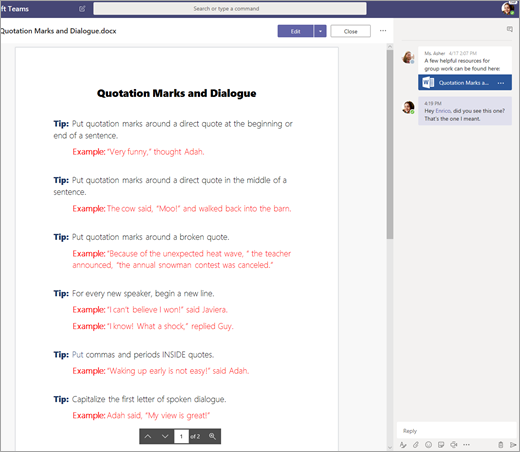
To chat and work in real-time, just open a document, select the Start conversation or chat button, and @mention the other students you’re working with. Your conversation will move over while your document stays open. Just like that, you can discuss and work on the document simultaneously.
Don’t have Microsoft 365 at home? No problem. Navigate to https://teams.microsoft.com on your web browser and you’ll be able to work on Microsoft 365 documents without needing to leave the app.
OneNote Class Notebook
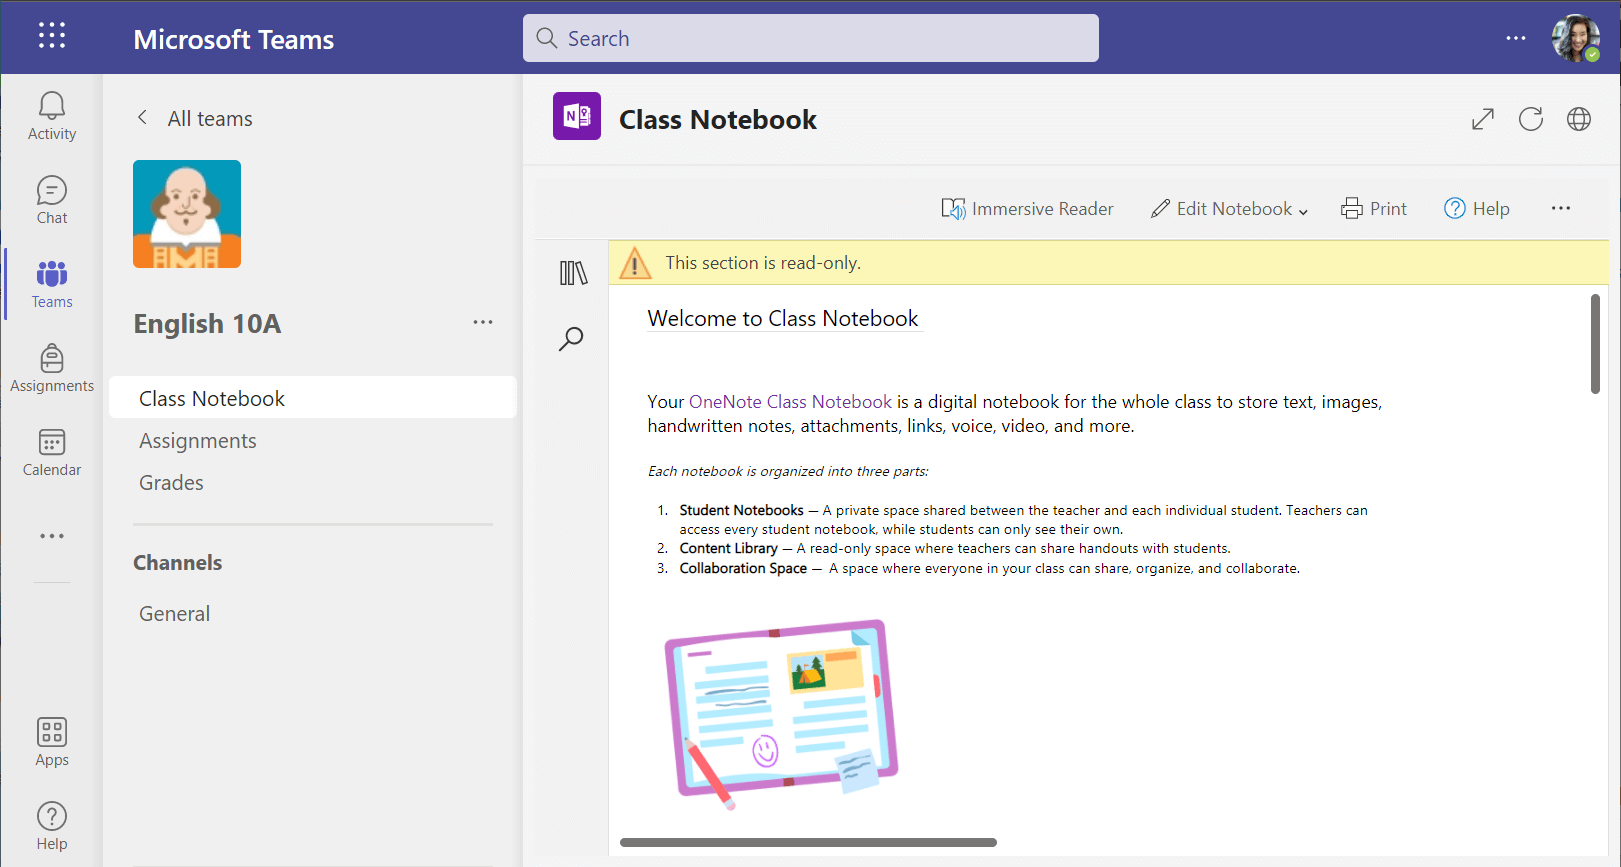
Depending on how your educator runs their class, you may be given access to a OneNote Class Notebook. Head to your desired class and select Class Notebook. Your OneNote Class Notebook will have different sections:
-
Content Library: Like a textbook with pages you can read for class.
-
Collaboration Space: Pages that you can work on with other students.
-
Your own workspace: This workspace is private to you and your educator and includes sections for homework and class notes. Use this space to add pages, notes, and thoughts, or work on assignments that your educator distributes directly to you.
-
OneNote Class Notebook pages aren't like normal document pages. Each one can go as long or as wide as you need, and you can draw or write on them with a touch screen device, add multimedia, or move things around just by selecting and dragging.
Assignments
View your assignments
-
In a class: Head to that class team and select Assignments.
-
Across all your classes: Select the Assignments icon in your app bar (the same place where your Teams icon lives).
-
On your phone: Tap the Assignments icon.
All your assignments will appear as cards. Just select one to open it.
Turning in assignments
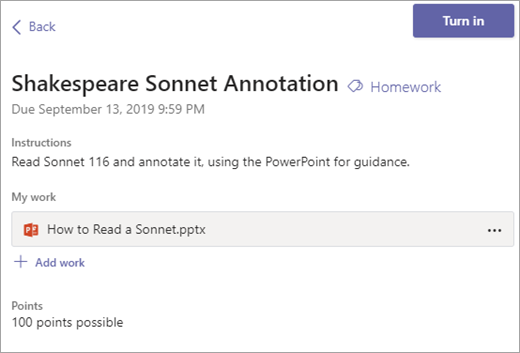
After selecting an assignment, you’ll see all the information you need to get it done, like when it’s due, any special instructions, or grading rubrics. If your educator has attached a worksheet or quiz for you to complete and turn in, you can open it and start working right from here. Your work will save automatically.
When you’re ready to turn in your work, select Turn in.
Other options:
-
Sometimes you turn something in and have second thoughts. If the due date hasn't passed yet, no sweat. Go back to your assignment and select Undo turn in. Now you can make the changes you need before turning the assignment in again.
-
Turn in late. If you see this button, it means the due date for this assignment has passed, but you can still turn it in.
-
If your educator has returned work to you and asked for revisions, make your updates and select Turn in again to send it back for another review.
-
Can’t select the Turn in button? The due date may have passed, and your educator is no longer accepting work for that assignment.

