Customize a webinar in Microsoft Teams
Themes
Personalize your event site by uploading a banner image or logo and choosing a color theme.
To customize your webinar theme, open your webinar and select Theming under Setup.
Important: Images you upload to customize webinars will appear in publicly available CDN and used on the registration site, as well as in emails sent to attendees.
Add or change a banner
-
Under Banner image, select Change image
-
Select Choose another image
-
Select the image file you want to add and select Open.
-
Position the image, then select Save.
Tip: For custom banner images, use an image at least 920x230px.
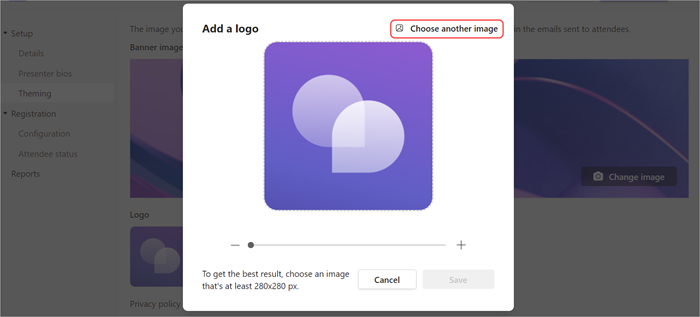
Add or change a logo
-
Under Logo, select your current logo image (
-
Select Choose another image
-
Select the image file you want to add and select Open.
-
Position the image and select Save.
Tip: For custom logo images, use an image at least 280x280px.
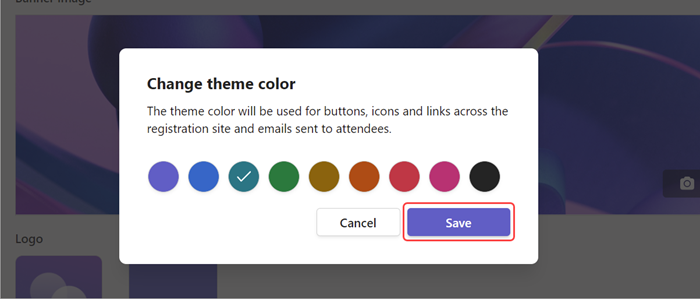
Add or change a color theme
-
Under Theme color, select your current theme color (
-
Choose the color you want attendee emails and registration site links, buttons, and icons to appear in.
-
Select Save.
Presenter details
Give attendees more information about webinar presenters by adding presenter bios and photos.
Important: The event's organizer is responsible for respecting presenters' privacy when adding their bios and photos.
Add and edit a presenter's bio
To add and edit a presenter's bio:
-
Go to Setup > Presenter bios. If you haven't already added a presenter, select Go to the details page to add one.
-
In a presenter's row, select Edit in the Bio column.
-
Fill in details about the presenter and select Save.
Edit a presenter's photo
-
Go to Setup > Presenter bios. If you haven't already added a presenter, select Go to the details page to add one.
-
In a presenter's row, select Edit in the Bio column.
-
Select their current profile picture or avatar.
-
Select Edit image.
-
To use a new image, select Upload an image
-
Select the image you want to use and select Open.
-
-
Edit the image how you want it to appear to others and select Done.
-
Select Save.


